Common Plone Tasks
Common Plone Tasks
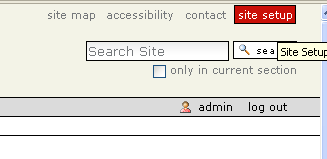
This covers many web administration tasks you need to do in Plone Site Setup. If you are the Zope user or have Manager rights, you can see the Site Setup hyperlink on the top right part of your page after you log in.
Many of these features are either self-explanatory or adequately documented on the Plone site. At the time of this writing, an excellent user manual contains tips on configuring Plone called the Plone 3 User Manual (http://plone.org/documentation/manual/plone-3-user-manual). This topic lists common tasks an administrator needs to do.
See also: Demo Screencast on the Enfold website at http://www.enfoldsystems.com/software/server/demos
Installing Plone Products
To add additional functionality to Plone, you can download Products from the Plone.org website. Quality of individual products may vary; check the Plone.org article Using Add on Products (http://plone.org/documentation/tutorial/third-party-products) for a discussion about how to evaluate new third party products. You may also wish to install components by using easy install (See easy install and Enfold Server).
In brief, here is the process for installing a Plone product in Enfold Server.
- Download the Plone product.
- Find the Products directory in the Enfold Server directory. C:\Program Files\Enfold Server\Products. There should already be about 20+ directories for products already present which came with the default installation. Many of these are part of Zope; some are part of Enfold Server. (See Enfold-specific products).
- Drop the directory for your Plone product here. (the Service User only needs read access to these files to use them).
- Restart all of your Zope clients in Encontrol.
- Go to your Plone Control Panel. Click Add-On Products.
- If everything goes well, the new product you wish to install will appear here.
Give Groups Access to the Same Web Folder
Often you will need to give a user or group of users access to a particular directory inside the Plone site. After you have mapped Active Directory groups to Plone roles, you can delegate folder permissions to an Active Directory group with a predefined role.
Suppose you wanted to give a group of AD users the ability to create and modify HR policies.
For this example, Monty Python is a domain user who is also a member of the Plone Administrators group in Active Directory. This user has the ability to add/edit groups in Active Directory. Franz Kafka is a simple domain user.
- Sign on as Monty Python.
- Follow the steps to create an AD group called "HR."(See above) Make the user "Franz Kafka" a member of this AD group.
- Map the "HR" AD group to the "contributor" role. (See above).
- Clear Authentication Cache on Plone control panel
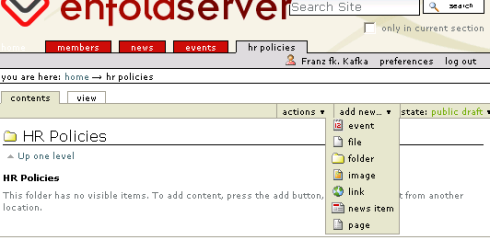
- As administrator, go to http://qehouston.local and select folder from the Add New dropdown list. Name it "HR policies".
- Go to the newly created directory http://qehouston.local/hr-policies . (You probably will see a tab on the main horizontal navigation tab).
- Click the sharing tab. Search for your new group "hr." After it appears, you can check the functions you wish to assign to this group.
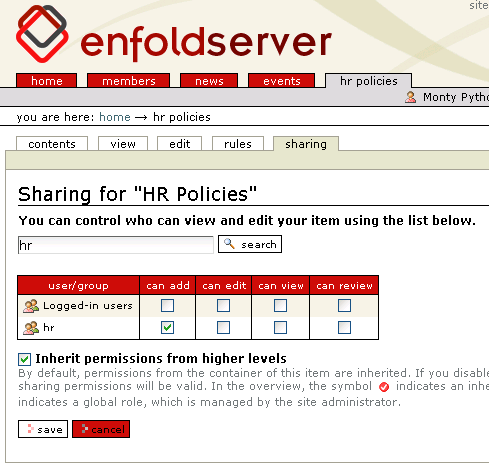
After you log off as Monty Python and login as Franz Kafka. Return to the Contents tab of this directory (i.e., http://qehouston.local/hr-policies ). You will see that Franz Kafka now has the ability to add content.
This is just one way to control read and/or write access to a directory. Another way is to use workflow. For example, you can give all users write access to an Articles folder, but only allow editors to approve/publish user-submitted articles to this folder. For more information, see the Plone 3 User Manual (http://plone.org/documentation/manual/plone-3-user-manual).